Does your finger get tired easily while playing video games? Ever wish you could pwn n00bs faster than the speed of light without ever breaking a sweat? This Instructable will show you how.
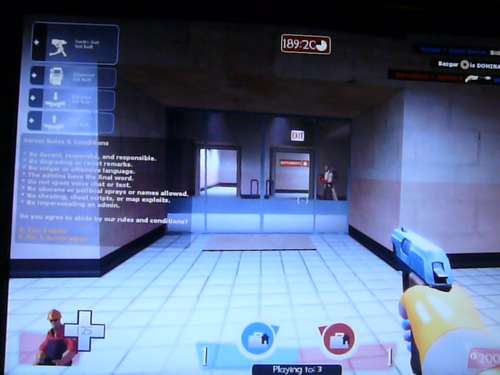
Originally, I built this circuit specifically to make the Engineer/Scout's pistol in Team Fortress 2 more effective, but I've found uses outside of TF2 that increase productivity when I'm working, which makes this an incredibly useful mod.
This circuit can be added to any mouse. Yes, that's any mouse, following these simple steps.
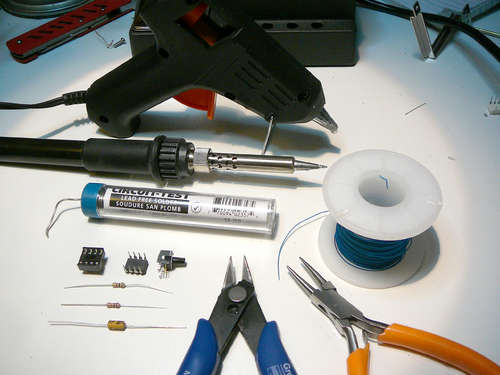
For this Instructable, you will need:
- 555 Timer IC
- 8-Pin IC Socket (static discharge or heat from soldering tends to ruin 555s, so we use a socket)
- 10 K Resistor
- 1 K Resistor
- 4.7 uF Capacitor (voltage doesn't matter, as long as it's 5V or over)
- Normally-Open Pushbutton Switch (any kind will do)
- Some wire
- Glue (to adhere the switch to the mouse, so hot glue or epoxy will work well for this)
- Solder
- Soldering Iron
- Wire snips
- Fine-nosed Pliers
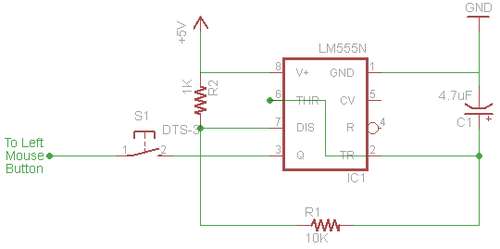
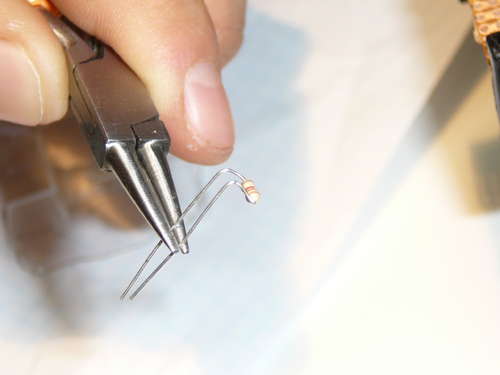
Following the circuit below, solder the parts to the 8-pin IC socket. How they're positioned is not cruicial as long as the connections are correct, since the goal is to have all parts connected in the most compact way possible.
This technique of building circuits is called "discrete wiring", or more frequently, the "dead bug technique". For simple circuits like this one, it can be used without worry, but anything much larger, and you should definitely use a circuit board.
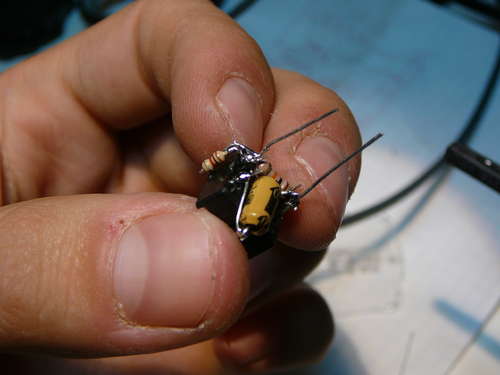
It's time to connect your pushbutton - at pin 3 of the 555 - to the circuit board of your mouse.
Disassemble your mouse so you have access to both sides of the circuit board.
First, you need to follow the path on the circuit board to determine on which side of the switch to solder your pushbutton. You want the side that leads back to the mouse's microcontroller, since we will be feeding 5V pulses into it. If you use the side that leads back to the +5V supply on the mouse, your mod will not work.
Use your wire to connect the switch.
At this point, you can insert the 555, plug in your mouse, and test to see if everything's working the way it should.

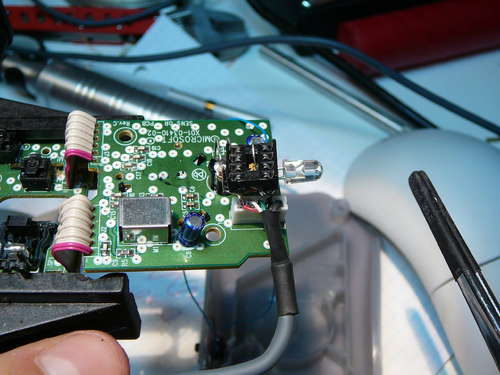
Mark a location for the switch in the side of the mouse. You want it where your thumb has easy access to it. Since I'm left-handed, I put the hole on the right side of the mouse. Either drill a hole, or use your soldering iron to burn a hole through (I do not recommend this method if you respect your soldering iron!)
Use epoxy or hot glue to hold the switch in place permanently.
Once the glue is cured, and the wires are connected, reassemble the mouse, making sure that the 555 circuit doesn't short anything out, and vice-versa. If you choose, wrap the 555 circuit in tape to prevent shorting things with it.
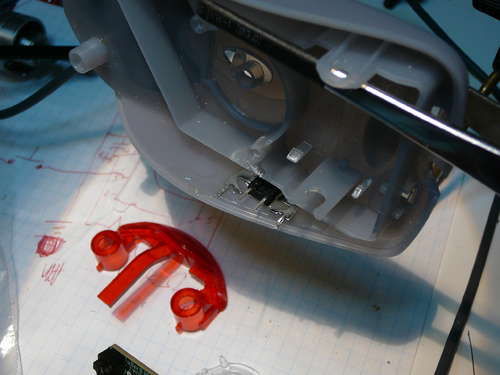
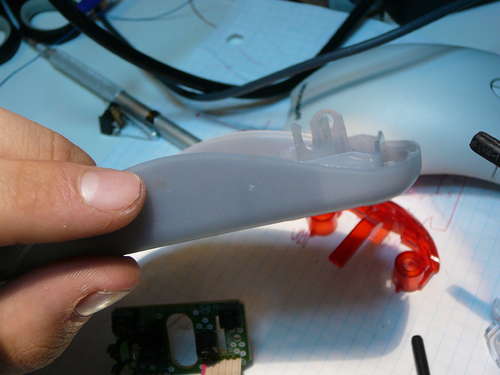
Ah, the orginal purpose of this mod:
